Contents:
- The clock-face system
- Finding footholds
- Fine tuning
- DDS – The Japanese system
- Bouldering
- Laser pens
- Additional considerations
- Summary
The clock-face system
The most popular and widespread system for sight guiding blind or visually impaired climbers is the clock-face system. It’s a method that feels natural to use and is easy to learn. We have heard of people using compass bearings among other things. However, we think the using a clockface is the most popular for good reason. Providing and interpreting information about the climb efficiently is paramount and the clockface system allows for this.
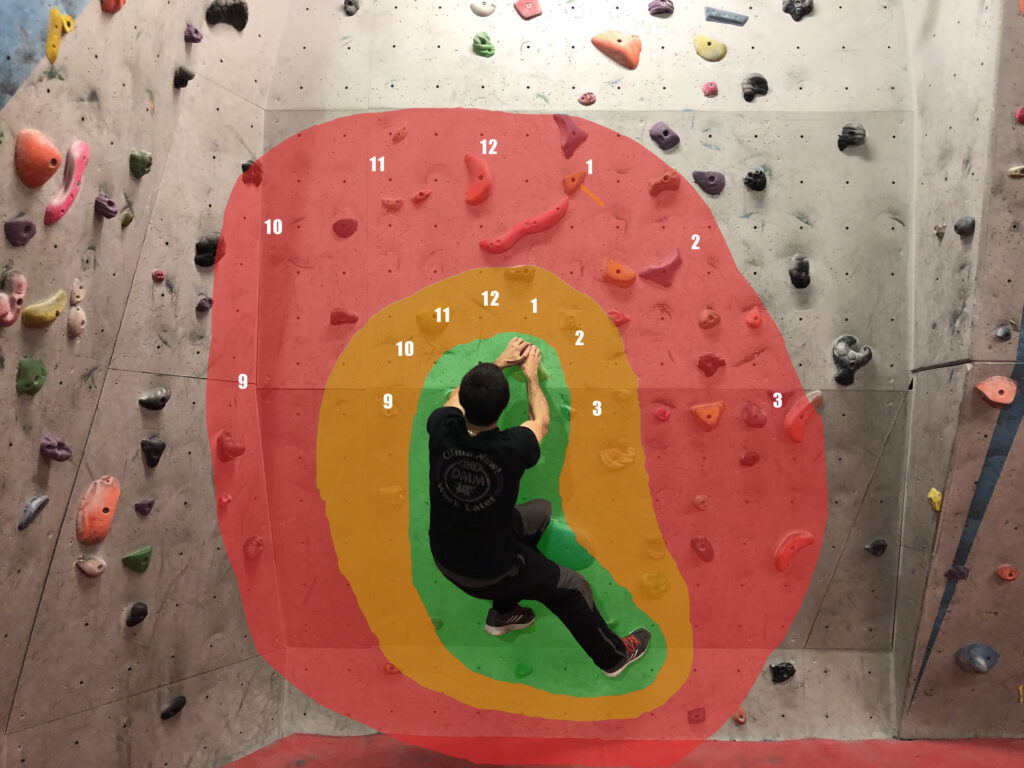
You need to imagine the centre of the clock is in the middle of the chest or back. 12 would be above the head. 9 would be to the side of the left shoulder. 3 would be to the side of the right shoulder.
When Lauren guides John on the wall she will call which limb she is calling for and give a direction. An example would be ‘Right hand 2’ or ‘Left hand 11’. Sometimes it’s not easy to work out which hand a hold was destined for on the ground so it’s best to simply let the climber know where the hold is and let them work out the best sequence. If there are multiple possibilities, you can explain those too. For example, ‘there’s a hand at 11 and 2’.
Finding footholds
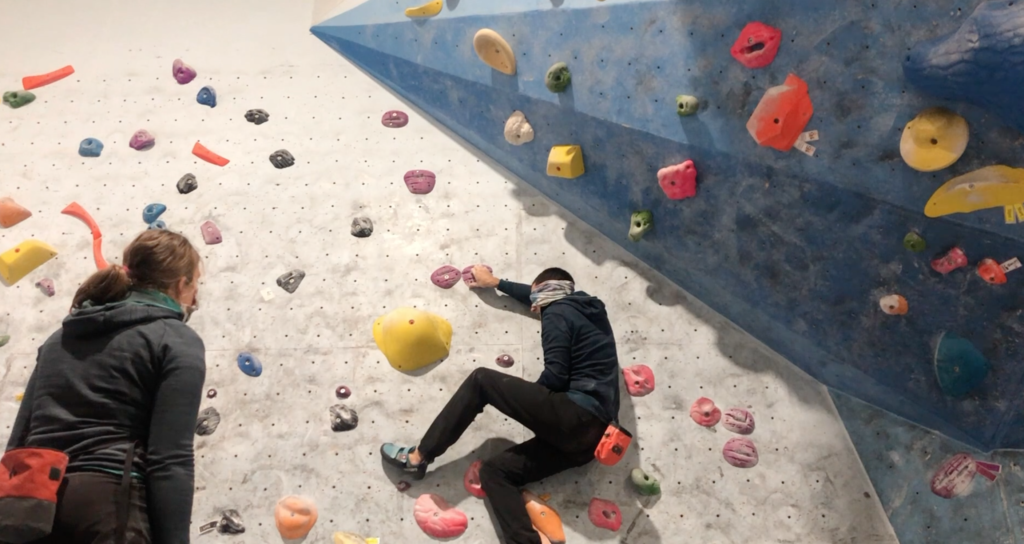
Footholds seem to sort themselves out on the whole. If climbers can keep track of the location of the hand holds then it’s possible to find feet without a whole lot of input. The tricky part seems to be finding the exact location of them. John seems to be able to draw circles around the holds without finding them. It’s easier to be directed onto the hold quickly if the climber makes slow, smooth foot movements but that’s often easier said than done! We use ‘in’ as the call when the hold is closer into the body and ‘out’ when it’s further away. It then seems to descend into down, right, up, left with confirmation when John has hit the hold. Rather than always using the clock face system, we sometimes also say ‘left foot knee height’ for example.
Fine Tuning
One drawback of the clock-face system is that it doesn’t provide any information about how far away the hold might be but this can be addressed by using the traffic-light system (other climbers use 1,2,3, or A, B and C but this is a matter of personal preference). The idea is to call green, orange or red along with the direction to provide some detail on how far away the next hold is.
Green
Within close reach, perhaps just outside of the ‘outline’ of the climbers body. This is the colour we tend to use the least because most of the time holds are above the current position. It is still useful to know because it can often save the climber reaching high for a hold that is just in front of their face.
Orange
Anything within arms reach which may only require a slight repositioning of the body. If the climber reaches straight up to the number called, they will probably hit the hold.
Red
Red is saying you will need to reposition your body or do a foot move to reach the next hold. Like green, providing this information can save a climber burning energy reaching for something they won’t be able to hit.
Our use of the traffic light system is selective. Orange is usually the default distance of a hold, so we don’t always use it. ‘Orange to red’ is something we more frequently use as a way to say, you can just about reach that hold but a little pop or twisty move will help. Adding this extra detail provides a lot of information very quickly which can really make a difference in the middle of a crux section of a crimpy route.
When guiding it can also be useful to provide some information on the type of holds on the routes. Think about whether the way the climber hits the hold matters. If the answer is yes, then it might be worth giving them some info. Is it a side pull? Which way does it face? If it’s a sloper the climber will know to hit it with control. If it’s a pocket the climber will know the feel the middle of the hold to find the best way to hold it. Sometimes routes are littered with one particular type of hold and this is something that can be discussed from the ground.
DDS – The Japanese system
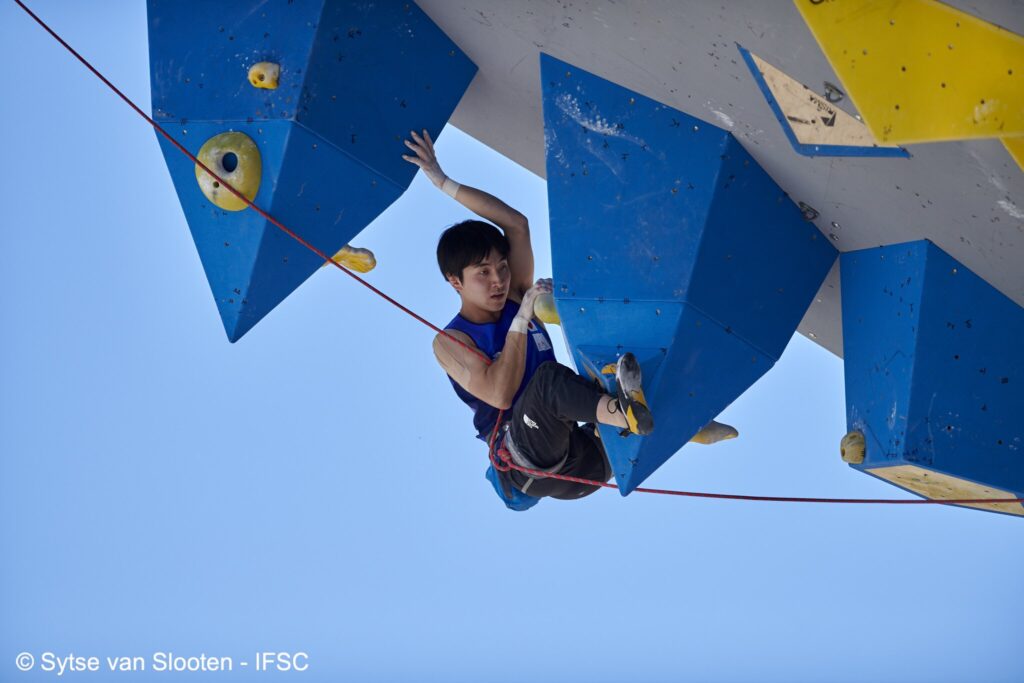
In Japan they use a system called DDS. Direction, distance and shape. It follows the same principles as the clock-face and traffic light system.
Direction
A number on the clock.
Distance
For distance 5 different terms are used. Next (10cm) Near (20cm), Middle (30-50cm), Far (60-70cm), Very Far (over 80cm).
Shape
The hold type/shape.
In Japan they also number the holds and include it in the call so a typical Japanese call would be ’21, 10.00, near, jug’. Ultimately, DDS is no different to using a clockface along with the traffic light system so it’s just a case of finding a way that works best for you. With DDS the distances that are used are quite close together. The closer a climber gets to the top, the harder it is to judge distance so there may be some benefit in simplifying this part for casual climbing.
Bouldering
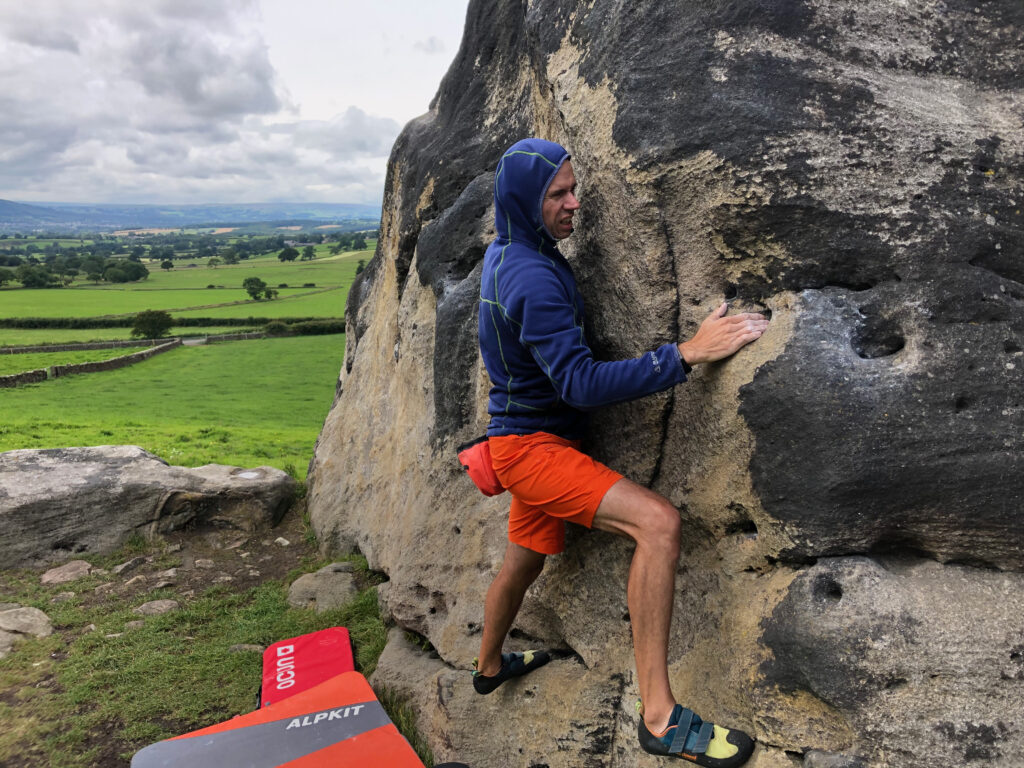
Sight guiding in bouldering works in exactly the same way as it does with roped routes. The main difference is the way you get down. The climber should be guided on to holds to help them down at least part way, but if/when a planned jump is necessary it’s good for the climber to have an idea of how far away the mats are. Is it an inch or a meter? Knowing how far the ground is will help the climber decide how to prepare.
Laser Pens
Laser pens are a great tool to allow those with some vision to locate holds but they are not allowed in national or international competition. This is why we won’t go into a great deal of detail on their use. Pointing them at the next hold is the general idea but neither of us have used them. They may be a particularly useful tool when working with deafblind climbers.
Additional considerations
- Is there a preferred position for instructions to be delivered to make the most of useable sight?
- Be conscious of colour clash. Are the holds the same colour as the wall? Will clothing blend into the background? Choosing routes with distinctive, contrasting holds will help climbers capitalise on any remaining vision.
- Climbers may not know the difficulty of the climb. Let them know about the grade and style of the climb.
- Ensure music levels aren’t too high. You will want to be able to hear each other.
- On a roped climb, let the climber know when they are close to the ground on the way back down.
Get tactile.
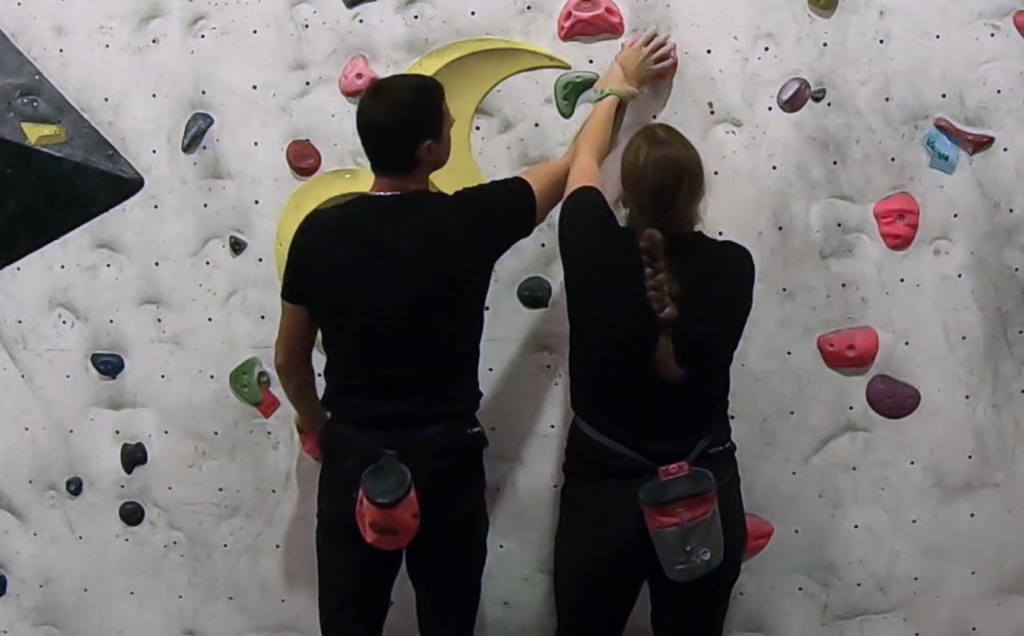
Climbing is a hands on sport. Instructors or guides should allow extra time for blind climbers to get to know the holds they are going to be using. Do they know their slopers and crimps? Find some and let them feel the holds to understand the differences. A great way to start any climb is with the climber touching the first few holds to help build up a picture of their location. A good way to do this is for the guide to take hold of the climbers hands and move them to where the holds are.
Summary
Many climbers start without using any particular sight guiding system or strategy. Having a clear system is always helpful, but in the higher grades it’s essential. Climbers and guides should be aware that distance is a lot harder to judge towards the top of routes leading to inaccuracies. Outside, holds can be harder to spot and what might look great from the ground could be a total sloper or nothing at all. The great thing about climbing outside is that everything in reach is ‘in’.
Climbers and guides can both make mistakes and there is always a learning curve. It may be better to start on some easier climbs while adapting to a new system. Not too easy though – routes with loads of holds can be a sight guides nightmare.
As climbers and guides get to know each other, guiding becomes more natural. Part of being a sight guide is learning how your climber likes to climb. Like everybody, they have a preferred style, strengths and weaknesses. In time, you can get to know them.
Communication systems go hand in hand with guiding. Read our communication systems guide.
